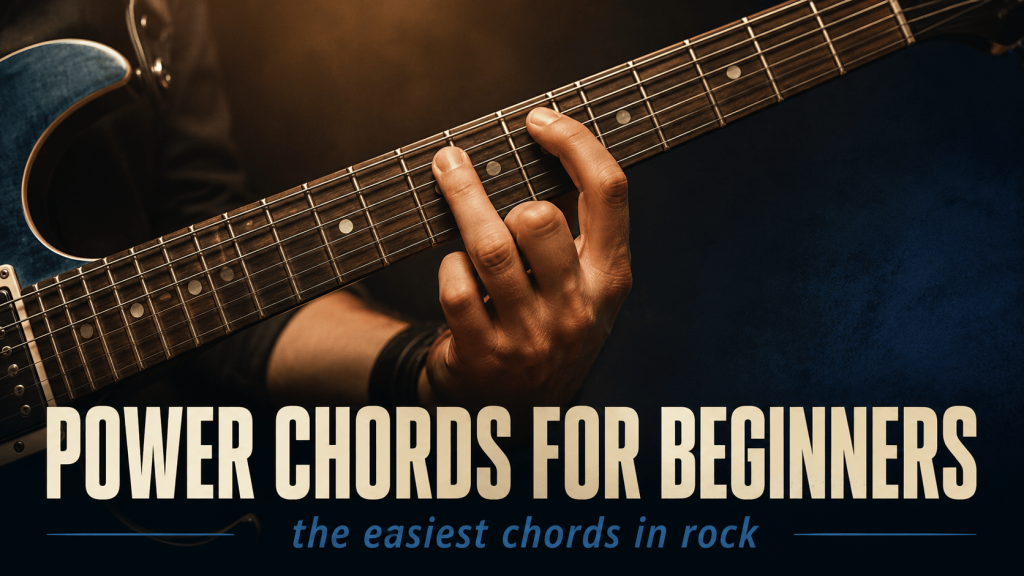
If you’ve ever wondered how rock and punk guitarists seem to play entire songs with what looks like one hand shape sliding around the neck, that’s power chords. They’re the workhorse of rock, punk, metal, grunge, and a huge amount of pop, and they have a wonderful secret: they’re physically easier than most open chords. Two or three fingers, one shape, and the entire neck opens up.
This article explains what power chords actually are, why they sound the way they do, the one movable shape you need, how to find any power chord by name, and how to start using them in real songs. If you’ve learned a few open chords and want a fast route into rock playing — or if open chords are still fighting you and you want something more forgiving to build momentum with — power chords are it.
What a Power Chord Actually Is
A power chord is a two-note chord: a root note and the note a fifth above it. (Usually the root is doubled an octave up, making three strings, but it’s still just two distinct notes.) That’s the entire chord. Technically, music theory calls it a “fifth chord” — you’ll see power chords written as C5, A5, G5, and so on. The 5 is the giveaway: it means root plus fifth.
Here’s the interesting consequence of that two-note construction. Regular chords are major or minor depending on their third — the note between the root and the fifth. Power chords skip the third entirely. No third means a power chord is neither major nor minor. It’s harmonically neutral, ambiguous, open-ended. That ambiguity is precisely why power chords work so well with distortion and why they can substitute for either major or minor chords in a song — they don’t commit to either.
The other consequence: because there’s no third to clash, power chords sound massive and clean under heavy distortion, where full chords turn into mush. This is why they’re the foundation of essentially all heavy guitar music. The sound you think of as “rock guitar” is, much of the time, power chords through a driven amp.
Why Power Chords Are Easier Than Open Chords
For a beginner, power chords have four genuine advantages over the open chords you’ve been wrestling with:
- Fewer fingers. Two fingers (or three for the fuller version) versus three or four for most open chords. Less to coordinate, less to go wrong.
- One shape for everything. Unlike open chords, where every chord is a different shape, a power chord is one shape that slides up and down the neck. Learn it once, and every power chord on the neck is yours. The shape never changes — only its location.
- No open-string precision required. Many open-chord problems come from accidentally muting strings that should ring or hitting strings that shouldn’t. Power chords use only two or three adjacent strings, and you deliberately mute the rest — a much more forgiving arrangement.
- Instant musical payoff. With one shape and a few root-note locations, you can play recognizable rock songs within days. For students whose motivation is being ground down by the F chord, that payoff matters.
The honest counterweight: power chords don’t replace open chords. They’re a different tool with a different sound — there are things open chords do (the ringing, full, harmonically rich sound of folk and acoustic music) that power chords simply don’t. Learn both. But power chords can come earlier than most curricula suggest, and for rock-minded students they’re a legitimate fast lane into playing real music.
The Shape: Your First Power Chord
Here’s the two-finger version of a G5 power chord, starting on the low E string:
- Index finger: low E string, 3rd fret. This is the root note — a G. The root names the chord.
- Ring finger: A string, 5th fret. This is the fifth — two frets up and one string over from the root. That diagonal relationship is the whole shape.
- Strum only those two strings. The other four strings stay silent. Use the underside of your index finger to lightly touch (and therefore mute) the higher strings so that an over-enthusiastic strum doesn’t make them ring.
That’s a G5. For the fuller three-string version, add your pinky on the D string at the 5th fret — right next to your ring finger. That doubles the root an octave higher and gives a thicker sound. Most players use the three-string version most of the time, but start with two fingers if the pinky stretch is awkward at first.
Two technique notes that matter from day one. First, the muting: letting the unused strings ring is the most common beginner power-chord mistake, and it turns a tight, punchy chord into a messy noise. The light touch of your index finger’s underside against the higher strings handles it. Second, keep your fingers arched enough that the fretted notes ring clearly — the same fundamentals from open chords apply.
The Movable Magic: One Shape, Every Chord
Here’s the payoff. That shape you just made? Slide the whole thing up two frets — index on the 5th fret of the low E string, ring on the 7th fret of the A string. You’re now playing an A5. Slide to the 7th fret: B5. The shape never changes; only the location does. Whatever fret your index finger is on, the note at that fret names the chord.

This means learning power chords is really learning one shape plus the names of the notes on the low E string. Here they are for the first twelve frets — worth memorizing a few at a time:
- Open = E · 1st fret = F · 3rd = G · 5th = A · 7th = B · 8th = C · 10th = D · 12th = E (the cycle repeats)
The same shape also works starting from the A string — index finger on the A string, ring finger on the D string, two frets up. The A-string roots: open = A, 3rd fret = C, 5th = D, 7th = E, 8th = F, 10th = G. Between the two strings, every power chord you’ll ever need sits within the first few frets of wherever your hand already is. With both root strings memorized, you can find any chord two ways and pick whichever requires less hand travel.
| The practical takeaway: An enormous number of rock songs are just three or four power chords. A song using G5, C5, and D5 is the shape at the 3rd fret of the low E string, the 3rd fret of the A string, and the 5th fret of the A string. Three positions, one shape — that’s the whole song. |
Switching Between Power Chords
Power chord changes are different from open chord changes in one liberating way: your fingers keep their shape. You’re not rebuilding a new arrangement of fingers for each chord — you’re moving a fixed shape as a unit. The skill is accurate jumping: lifting the shape slightly, sliding or hopping it to the new fret, and landing it cleanly.
Practice this the same way you practice any chord change — slowly, with a metronome, prioritizing clean landings over speed. The pivot-finger logic from open chords doesn’t apply here; instead, the skills are keeping the shape intact mid-air and developing an accurate sense of fret distances so your hand lands where you intend without looking. Both develop quickly because the shape never varies. Most students find power chord changes reach real-time song speed weeks faster than open chord changes did.
One detail that helps: keep light contact with the strings while sliding short distances rather than lifting completely off. For a two-fret move, a slide with reduced pressure is faster and quieter than a full lift-and-land. For bigger jumps, lift — but keep the shape frozen as it travels.
Palm Muting: The Sound of Rock Rhythm
Power chords come with a companion technique that defines the rock rhythm sound: palm muting. Rest the fleshy edge of your strumming hand’s palm lightly on the strings right where they meet the bridge, then strum. The result is a tight, chunky, percussive sound — the “chug” you hear in essentially every rock and metal rhythm part.
The variables are pressure and position. More pressure or a hand position further from the bridge mutes more heavily; lighter pressure closer to the bridge lets more note through. Songs constantly alternate between palm-muted verses (tight, controlled) and open, ringing choruses (big, loud) — that dynamic contrast is one of rock’s most basic tools, and it’s available to you as soon as you can hold one power chord shape.
Try this: pick a single power chord, palm-mute eight steady downstrokes, then release the palm and let two full strums ring. That alternation is the skeleton of more rock songs than you’d believe.
Power Chords on Acoustic vs. Electric
Power chords are associated with electric guitar and distortion, but they work fine on acoustic — plenty of acoustic rock and punk uses them. The difference is purely sonic: without distortion, power chords sound sparser than full open chords, because two notes simply contain less harmonic information than five or six strings ringing. On acoustic they’re a flavor; on a distorted electric they’re the main course.
If you’re learning on acoustic and your goal is rock playing on a future electric, learn the power chords now anyway. The shapes, the muting, and the movement transfer completely. The day you plug into a distorted amp, everything you practiced will immediately sound like the records.
Five Mistakes Beginners Make With Power Chords
- Letting unused strings ring. The most common one. Use the index finger’s underside to mute the higher strings. A power chord should be only its two or three notes — anything else ringing muddies it.
- Pressing too hard. Same as with open chords — most beginners use several times the necessary pressure, which slows down shape movement and exhausts the hand. Find the minimum pressure that rings cleanly.
- Collapsing the shape mid-move. If the fingers drift apart while jumping frets, every landing requires rebuilding the shape. Practice keeping the finger spacing frozen in the air. Slow practice fixes this fast.
- Only ever playing power chords. They’re a fast lane, not the whole highway. Students who abandon open chords entirely hit a wall when a song needs harmonic color that two notes can’t provide. Keep both developing in parallel.
- Ignoring the root-note names. Without knowing the low E and A string note names, you can’t find chords by name — you’re stuck copying fret numbers. Ten minutes of memorization unlocks the entire system.
Your First Week With Power Chords
A simple progression to get from zero to playing something real:
- Days 1-2: Get the two-finger shape clean at one position (G5 at the 3rd fret is a good home base). Strum it, check that only the right strings sound, practice the muting.
- Days 3-4: Add the three-string version with the pinky. Practice moving the shape between two positions — G5 to A5 (3rd fret to 5th fret) — slowly, with a metronome at 50 bpm.
- Day 5: Add the A-string root version. Practice moving between an E-string-root chord and an A-string-root chord (G5 to C5 is a classic pair — 3rd fret on each string).
- Days 6-7: Find a real song. Search “easy power chord songs” — punk and classic rock are full of three-chord songs. Add palm muting on the verses if the song calls for it. Play it badly, then less badly. That’s the process.
The Takeaway
Power chords are the rare guitar topic where the marketing-sounding promise is actually true: one movable shape, learnable in a day, genuinely unlocks hundreds of songs. They’re easier than open chords, they’re the authentic foundation of rock rhythm playing, and they teach you the neck’s note names as a side effect.
They’re not a replacement for the open chords you’ve been building — the two live side by side in any complete player’s hands, and most real songs in most styles still want open chords somewhere. But as a momentum-builder, a fast route into rock, and a confidence restorer for students worn down by the F chord, power chords have no equal. Learn the shape, memorize the root notes, mute the strings you’re not using, and go play something loud.
Further Reading
- Guitar Chords for Beginners — the open-chord foundation that pairs with power chords
- Open Chords vs Barre Chords — power chords are the stepping stone between these two
- How to Switch Chords Faster — the practice method applies to power chord movement too
- How to Read Guitar Chord Charts — power chords appear on charts as two or three dots with X’s